It may have been noticed that a few days ago, all the photos off my blog inexplicably vanished! I have no idea why this has happened and have been frantically trying to contact google to work out what has gone wrong and how to get them back. In the meantime I have been slowly re-uploading the photos that I can, and can only beg your patience as I upload and wait for google to hopefully fix whatever it is that has gone wrong!
Tuesday, 21 June 2016
Sunday, 19 June 2016
The Princess Commission
In a throwback to a commission that I never posted about completing! The lilac Princess Dress! This dress was commissioned to be a princess dress that should be able to be worn preferably by a size 8-12, had to be blue or lilac in colour, and had to be able to be moved in. After creating a number of designs the one selected was a corseted top with a pale blue sheer gathered cap sleeve merging into bodice decoration, and decorated with silver rhinestones on the bodice. Combined, it took me about three weeks to make, and included a 'bum roll'.
The finished dress!


Tuesday, 14 June 2016
SPAMALOT! An overview!
Show week is done, the reviews are out and 'Spamalot' with Bournemouth Musical Theatre Productions has been an overwhelming success! With the show now finished I can finally reveal the costumes and props that I designed and made, the parts I had a creative hand in and the costumes - and props - I designed, made, altered, fitted and mended! It has been a wonderful experience to work with the fantastic Lisa Stead, and on such a vast production, and I hope to work with her again. On final count (I believe) we had 116 costumes for this show, making it the most costumed show that I have ever worked on!
As Wardrobe Mistress
As wardrobe mistress, I had two dressers that I brought on board and I split and scheduled the costume changes between the three of us so that the people who needed a dresser had one when needed. We had three dressing rooms - one ladies, one mens, and one for the Lady of the Lake and the two Diva's - and the downstairs studio that was used for the faster changes and for set and props. I made two changing area's in the studio - mens and ladies - for the combined uses of privacy for the actors, keeping the costumes contained so that the dressers could find the people they needed, the actors wouldn't get their costumes muddled and the costumes would be separated from the set and props.
I put a rail in each of the two sections and set a quick change rail for wing changed in the alcove of the backstage corridor that ran between the wings. This rail was set only by me so that myself and the dressers would just be able to grab and run when we were on the fast changes, the fastest of which I was on and came to less then 13 seconds. We had multiple changes in both wings, which with people singing in the wings, multiple large moving set pieces moving in and out of the wings into the back room, and limited space made it an interesting challenge which my dressers coped with beautifully.
The most interesting aspect and the newest for me was two quick changes into and out of stilts for one of our actors. Stilts were a new challenge for me, and had to be checked before the performances by the stage manager to make sure that they were safe and secure. We had to practice multiple times in rehearsals and it took two of us to get the performer out of the stilts in time for his entrance for a dance number.
Costume
The Lady of the Lake;
I had the honour of being able to design and make one of the costumes for the female lead, The Lady of the Lake (Becky Willis) For the scenes it was used for, The Broadway and Westend versions both used catsuits - after speaking to Lisa, we didn't want to specifically have a cat suit but have the same kind of feel for the costume. With that in mind I designed this! It was my first time working with four way stretch lycra, which I had dreaded but I really enjoyed working with it and it was much easier to work with then I had thought it would be!


Left - Final designs for the costume, made so that the arm and leg ruffles could be removed so that it would be a slightly different costume between the first and second scene that it was used in.
Middle - Between fittings.
Right - Final Fitting
Right - Final Fitting

Arm ruffle layers to match skirt

Lancelot;
During the show, there is a particular scene where Lancelot must be semi stripped, and required some extravagant underwear! They had to be pg friendly while at the same time being outrageous. After submitting a selection of designs, this is the one that was finally selected. Unfortunately, I didn't manage to get any photos of him in his full costume but I do have making photos, and photos of the full costume in the theatre. During the scene, as Lancelot is stripped from a full knight's costume (which was sourced but needed altering to add two shields to the chest) to reveal his pantaloons - we also had a shield on his chest that needed to be ripped away to reveal another underneath. I got to design both shields with Lisa's input and create them!


Right - After the shield is ripped away

After the shield and skirt are both ripped away
Tim The Enchanter
For Tim the Enchanter, I had a really fun job in creating a horned cowl/hood! The horns needed to be light weight, big and durable enough to last through the run. I decided to use plastazote, cutting circled getting increasingly smaller and used my hot glue gun to glue them into spiralling horns. Using a photo of some goat horns as a basic guideline I painted the horns with a mix of white, cream, yellow, brown, grey and green paint concentrating the darker colours at the tips of the horns and mixing all the paint with PVA to make sure that it stayed on.
For the cowl I sourced some stretch brown fabric and fitted it to his head, pinning a gather off-centre under the performers chin and leaving a swathe of fabric to drape over the shoulder and add to the stability of the cowl. I marked on the fabric where the horns should be and at the performers request cut two small holes where his ears would be so that while his ears wouldn't show, his hearing wouldn't be impaired.


Our Tim trying on his horns for the first time
Making
The Minstrels;
We had four minstrels in need of jackets - two Lisa sourced from a costume sale that went well together, and she left it for me to create the other two! They were heavy jackets, one red, fully velvet on the torso and back with dense white fabric for the sleeves and collar, the other the same but a different colour body and a heavy patterned fabric for the front with a velvet back in matching blue.
I had some brocade left over from Romeo and Juliet three years ago, and so the yellow and green brocade were selected for the two remaining tunics and as long as they fitted with the other two bought ones I was given free reign. I chose to use velvet on the backs of each tunic, going for a green velvet much darker then the brocade for the green jacket as it helped it fit with the deep red and blue of the first two. For the yellow I got a mid-tone yellow and managed to find one that was tinted with brown and grey rather then a golden yellow as it washed out the yellow brocade. I used cotton drill for the collar and sleeves.
This was an amazing opportunity for me as it meant creating my own pattern, especially with one jacket for a male performer and the other for a woman. The green was a quick-change costume as between coming off from the end of one scene and being the first to enter for the next he had an incredibly fast change that myself and one of my fantastic dressers assisted him with. I put snap fasteners down the front to make sure that while the jacket was secure when worn, the change could be as fast as possible.

Sleeve


Left - Yellow Minstrel Jacket before the final fitting
Right - Green Minstrel about to go onstage!
Right - Green Minstrel about to go onstage!
Unlike the green, the yellow velvet was thin to make it more comfortable to be worn under stage lights for long periods of time. Due to the change in positions that the performer had to undertake onstage, the fastenings had to be moved a few times. For the bottom triangles I alternated the front fabric and the velvet to get more texture in.


Left - Finishing attaching the bottom triangles
Right - Finishing attaching the fastenings
Props
There main props that I got to make were the fish for the fantastic 'Finland - Fisch Schlapping' song. They had to be soft and flexible enough to be harmless even when slapping, while still being big enough and stable enough to hold their shape under duress - such as when being used to slap. For the dance, the four large fish had to be attached under the aprons in such a way that when they were needed, the dancers could quickly and easily pull the fish out from under the apron to use. I put a square of Velcro on the fish (just above the tail so that they would not be too long and hang below the edge of the apron) and a corresponding square of Velcro on the inside of the apron waistband.


For the same number - 'Fisch Schlapping' - we needed four aprons for our female dancers that had to be large enough to hide a large fish while being small enough to not eclipse their skirts.
I was given one apron that Lisa had sourced to use as a guide, and two pillowcases to turn into the three remaining aprons required! The colours of the skirts were green, coral, purple and red, I wanted to incorporate the skirt colours into the aprons as well as the colours of their male dance partners.

This is the apron I was given to go from as a guideline


Left - the three new aprons on top of the original
Right - the two new grey aprons together next to the original black
The Laker Capes
As an addition, to go with the 'Laker Girls' leotards I was asked to make them each a cape of sheer but sparkling fabric. On consultation with Lisa, I selected Peacock Blue Sugar Puff Voile due to its sheen and sparkle as well as its beautiful and vibrant colour. I measured the maximum arm span of each laker girl, with five of the six needing capes of 175 by 115, with one needing 165 by 115. From there it was measuring out and forming the shape. Once we got to the theatre I hemmed them and added finger loops.
I also made capes for the two 'Diva's', the Lady of the Lakes...I guess they could be described best as her ladies? They made an appearance in quite a few of the songs the Lady didn't while still being, effectively, hers. While I did not manage to get a photograph of the Laker Girls wearing their capes, I managed to get this one of the Diva capes, with the lady of the Lake's cape, hung up awaiting the arrival of the cast.

Costume Alterations - Lady of the Lake Dress 1
Near the start of the rehearsal period, Lisa ordered a dress for our lady of the lake, and handed it over to me for creative alterations. I was given a 'shell bra' and told that I could do whatever I wanted to the dress but there needed to be movement in it.


Adding the 'scales' for the skirt


The 'Shell Bra' addition - I decided to paint them a combination of purple, pink, blue and grey to make them really stand out and to emphasise the contours in the shells
As a last minute addition, a cape was asked for to go with the dress to match in with the 'laker girl' capes - while the laker girl capes are one panel, and the Diva capes are two panels each, the Lady of the Lake cape had three panels which made for a very impressively long and voluminous cape

Our Lady of the Lake, about to go onstage
Alterations;
From Ni Knight Helmets to grails, from trick costumes to show girls to rabbits, there were a lot of alterations for me to do! I wont put all the alterations on here, as there were a lot of them from taking in to letting out, adding in elastic and fastenings, and even at one point stapling on leaves, so on here I will put the highlights.


This was one of the Lady of the Lake's costume, a trick costume that had to be stripped away onstage to reveal a dress beneath - I undid the seam from the shoulder (under the surface embellishment so that it would not need to be cut) and down to the front seam on one side, then used snap fasteners to put it back together


As I had made Tim's horns I was asked to add on to the horns on the main Ni Knight helmet


The blue minstrel jacket needed taking in at the back


 |
| Our showgirls together |
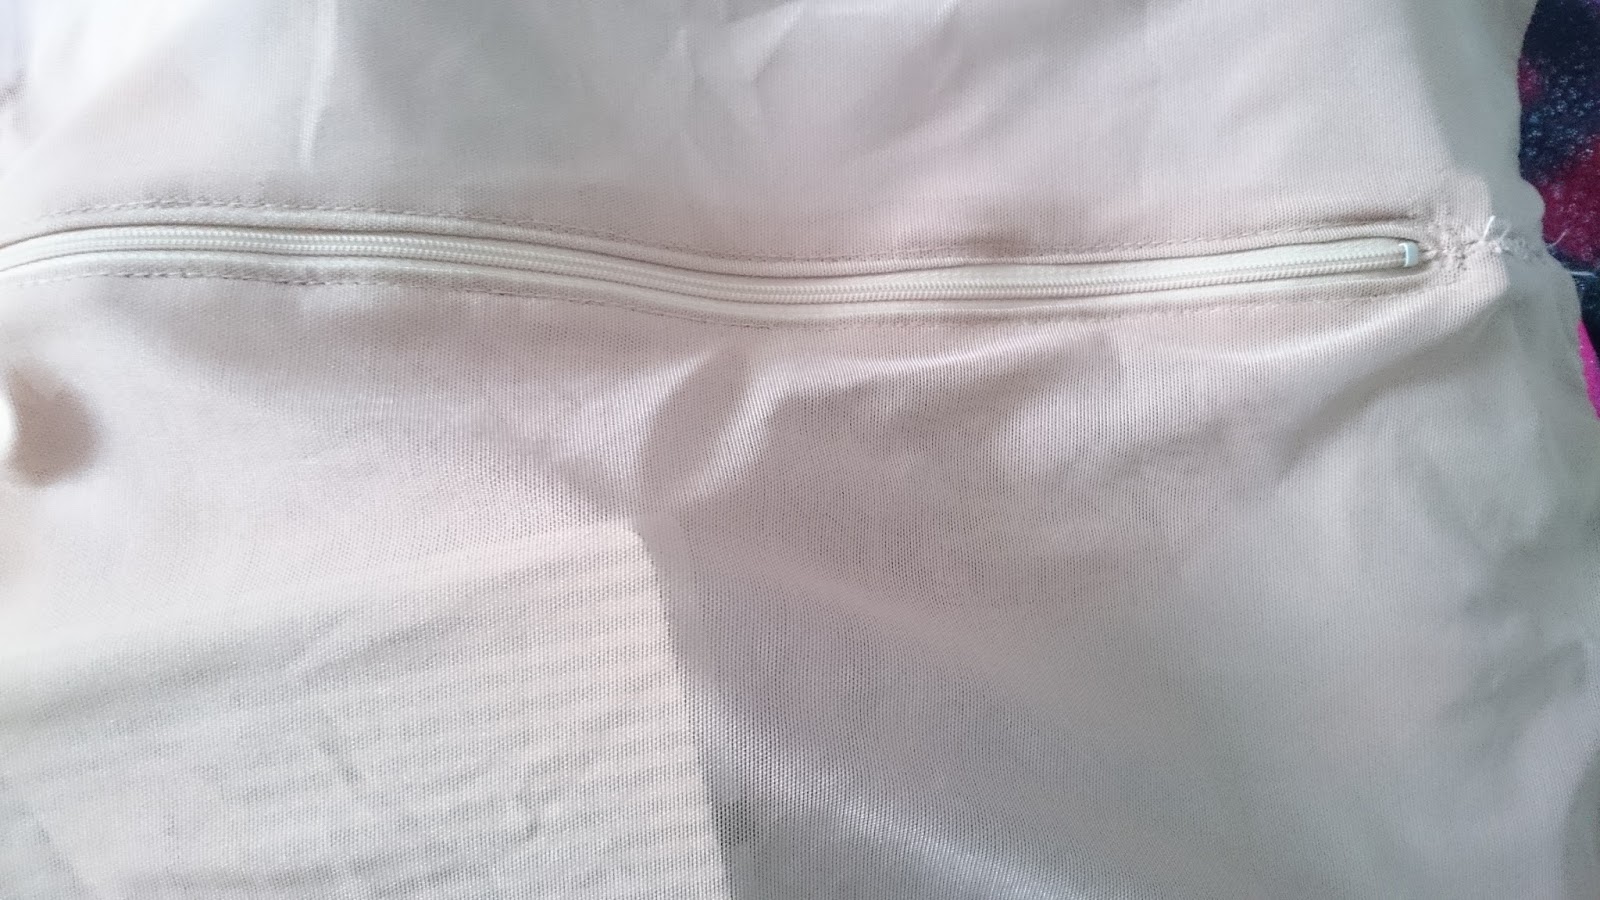
A series of evenings of rhinestoning the front section and the backs of the showgirls - at first I rhinestoned the front densely but unfortunately as they were put on the stretch of the mesh loosened some of the rhinestones so from then I rhinestoned in a looser and more random pattern so if any of them came loose it wouldn't be as obvious

Left - the rabbit puppets, I was given three identical ones and asked to make one evil and one to look like it had been through an explosion.
Group Costumes
The Black Knight;
This was one of the most complex costumes to get working, with at the same time one of the simplest solutions! This was a team effort between me, Lisa, and a group of helpers who spent a couple of days helping us. I made the initial costume with Lisa's input then our team of helpers helped to finish it! It wasn't the most neatly made costume but as one that needed to be pulled apart on stage giving the appearance of the performers arms being cut off it worked perfectly.


This costume I made of black polycotton. The sleeves needed to look like they still had a limb in them once they were removed from the costume, so I lined them in sections with plastazote to help them keep their shape. I poppered the sleeves to the armholes and then we added a slit to the torso beneath the sleeves so that the actor could pull his arm into the torso once the sleeve was removed. Our lovely helpers helped make and attach a tabard in shiny black to hang over the torso. The arm removal during a fight scene was meant to look very 'amateur' to add to the comedy, so for fake blood I used ribbon and red webbing cut into strips sewn into the inside of the arm hole so that once the sleeve was removed the strips would burst out and drape over the hole, helping to mask the arm tucked into the torso.
Working with BMT again has been an absolute pleasure and I truly believe that we produced a truly outstanding show. I would not hesitate to work with them again.
Subscribe to:
Posts (Atom)